當 SLES Btrfs 檔案系統變成唯讀時:重新掛載前請先診斷
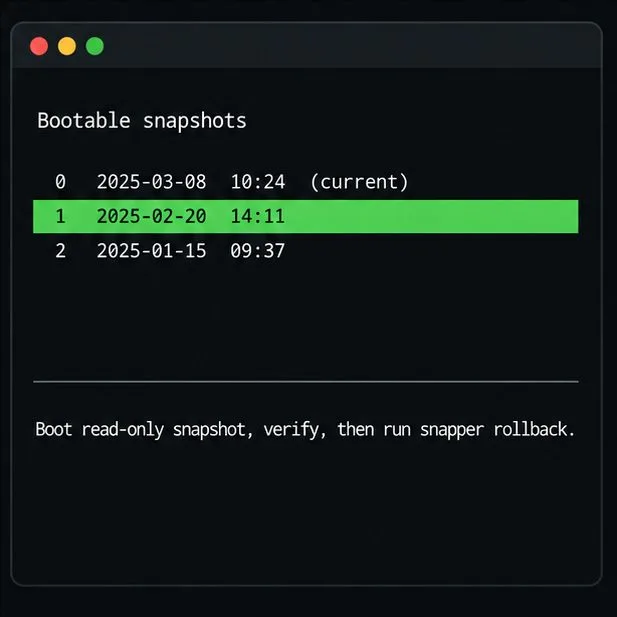
確定 Btrfs 是否故意設定為唯讀、空間不足或在發生錯誤後保護數據,然後選擇適合該原因的恢復路徑。
To forward SUSE Linux Enterprise Server (SLES) system logs securely, configure rsyslog to send messages over TLS-protected TCP port 6514, verify the collector's certificate name, and confirm delivery with a test event. SLES 15 SP7 received an optional rsyslog update on March 27, 2026 that added an OpenSSL TLS module; the configuration below deliberately uses the established GnuTLS (gtls) module instead.
This procedure covers a SLES 15 sender named sles01.example.net and an rsyslog collector named logs.example.net. Replace both names and all certificate paths with your own values. It uses mutual TLS, so the collector authenticates the sender as well as the sender authenticating the collector.
On both hosts, install the rsyslog daemon and its GnuTLS module from your registered SUSE repositories. Existing installations may already contain the first package.
sudo zypper install rsyslog rsyslog-module-gtls
rpm -q rsyslog rsyslog-module-gtls
sudo systemctl enable --now rsyslog
rsyslogd -v
Review /etc/rsyslog.conf and existing snippets under /etc/rsyslog.d/ before adding rules. In particular, disable any older unencrypted *.* @@host forwarding rule for the same destination; otherwise messages may take two routes, including one without TLS.
SLES uses systemd-journald for journal events while rsyslog processes syslog inputs. Confirm that the events you need reach rsyslog through the existing input configuration. SUSE documents ForwardToSyslog=yes in /etc/systemd/journald.conf for journal-to-syslog forwarding; check your deployment before changing it because separately enabling journal readers can create duplicate events. This procedure forwards messages already processed by rsyslog, not every file under /var/log automatically.
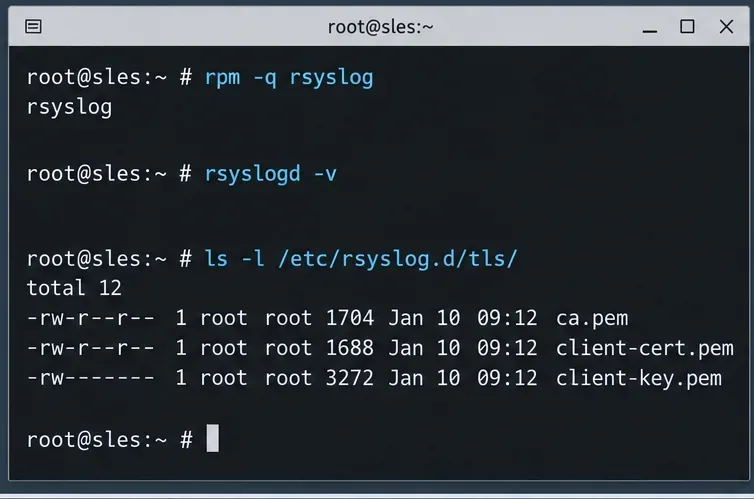
Use an organization-controlled certificate authority (CA) to issue a certificate with the DNS subject alternative name logs.example.net for the collector and a separate certificate identifying sles01.example.net for the sender. Make sure the certificates are valid for their TLS server or client roles and that both machines trust the issuing CA. Follow your PKI process for generation and renewal; do not reuse a private key across hosts.
Copy the appropriate files over an administrator-approved secure channel. In this example, both machines use /etc/rsyslog.d/tls/ca.pem. The collector additionally has server-cert.pem and server-key.pem; the sender has client-cert.pem and client-key.pem.
sudo install -d -m 0750 /etc/rsyslog.d/tls
sudo chmod 0600 /etc/rsyslog.d/tls/*-key.pem
sudo chmod 0644 /etc/rsyslog.d/tls/ca.pem
Restrict certificate and key access to the rsyslog service identity where necessary. Do not expose private keys in diagnostics, shell history, Git repositories, or the exported log stream. Confirm that your rsyslog process can read its key before restarting the daemon.
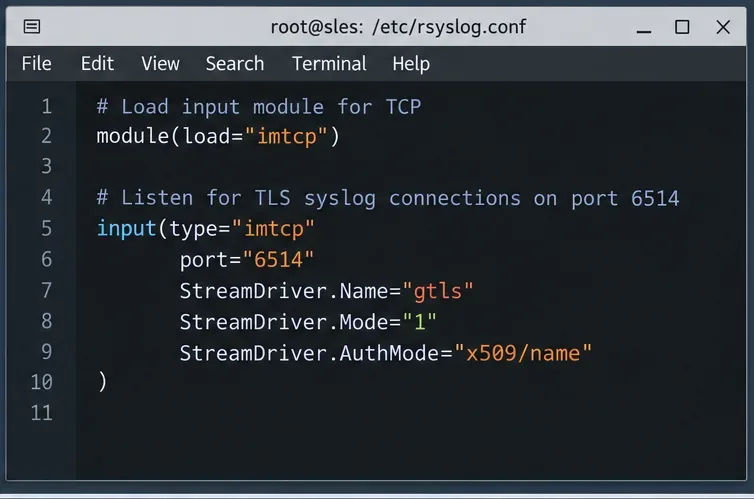
在[此處應填寫具體配置] 中logs.example.net,加入以下內容/etc/rsyslog.d/30-tls-listener.conf。如果 [imtcp此處應填入特定配置] 已在其他地方加載,則僅保留一條模組加載語句。專用規則集會將遠端接收的訊息放入單獨的檔案中,而不是將其與本機系統訊息混合在一起。
global(
  DefaultNetstreamDriverCAFile="/etc/rsyslog.d/tls/ca.pem"
  DefaultNetstreamDriverCertFile="/etc/rsyslog.d/tls/server-cert.pem"
  DefaultNetstreamDriverKeyFile="/etc/rsyslog.d/tls/server-key.pem"
)
module(load="imtcp")
ruleset(name="remote_tls") {
  action(type="omfile" file="/var/log/remote-tls.log")
}
input(
  type="imtcp"
  port="6514"
  StreamDriver.Name="gtls"
  StreamDriver.Mode="1"
  StreamDriver.AuthMode="x509/name"
  PermittedPeer="sles01.example.net"
  ruleset="remote_tls"
)StreamDriver.Mode="1"啟用 TLS,同時x509/name拒絕PermittedPeer沒有有效憑證身分的用戶端。僅允許一個名稱是有意為之;添加其他發送方時,應擴展已批准的對等方列表,而不是削弱身份驗證。
sudo rsyslogd -N1
sudo systemctl restart rsyslog
sudo firewall-cmd --permanent --add-port=6514/tcp
sudo firewall-cmd --reload
sudo ss -ltn | grep ':6514'
僅當收集器使用 firewalld 時才執行防火牆命令。使用主機或上游防火牆將入站 TCP/6514 連接埠限制為已知的發送方網路;開放連接埠並不會取代憑證驗證。此外,也要驗證是否意外暴露了任何預先存在的明文監聽器。
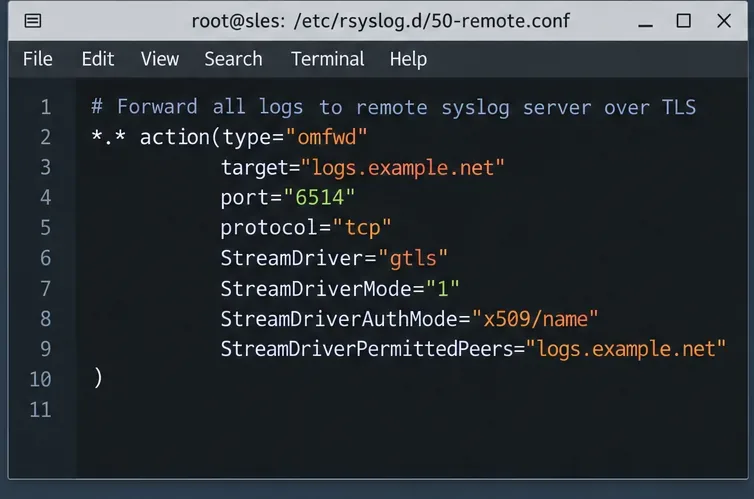
sles01.example.net確保 rsyslog 工作目錄存在且服務可寫入。此處顯示的目錄僅供參考;如果您的軟體包安裝程式已提供已設定的目錄,請保留目錄workDirectory。新增以下程式碼片段/etc/rsyslog.d/60-tls-forward.conf:
global(
  DefaultNetstreamDriverCAFile="/etc/rsyslog.d/tls/ca.pem"
  DefaultNetstreamDriverCertFile="/etc/rsyslog.d/tls/client-cert.pem"
  DefaultNetstreamDriverKeyFile="/etc/rsyslog.d/tls/client-key.pem"
)
*.* action(
  type="omfwd"
  target="logs.example.net"
  port="6514"
  protocol="tcp"
  StreamDriver="gtls"
  StreamDriverMode="1"
  StreamDriverAuthMode="x509/name"
  StreamDriverPermittedPeers="logs.example.net"
  queue.type="LinkedList"
  queue.filename="tls_forward"
  queue.size="10000"
  queue.maxDiskSpace="1g"
  queue.saveOnShutdown="on"
  action.resumeRetryCount="-1"
)
TLS 設定用於在發送前驗證收集器的身份。磁碟輔助操作佇列會在短時中斷期間緩衝訊息,並重試失敗的轉發操作,但它並非無限,也無法保證完全避免訊息遺失:可用磁碟空間、佇列限制、進程關閉行為以及接收器健康狀況仍然至關重要。在依賴磁碟緩衝之前,請檢查 rsyslog 的有效工作目錄,並使用適當的所有權建立該目錄。
驗證並重啟發送方:
sudo rsyslogd -N1
sudo systemctl restart rsyslog
如果設定驗證失敗,請勿重新啟動;請先修正第一個報告的錯誤。在現有的 rsyslog 部署中,全域憑證指令可能會影響其他 TLS 作業。請檢查其他出站操作,如果它們需要不同的憑證,請使用受支援的每個操作的憑證參數。
首先確認收集器正在監聽 TCP/6514 端口,並且發送器可以透過防火牆存取主機。然後在 SLES 發送器上執行以下命令:
logger -t sles-tls-check "TLS forwarding probe"在收集器上,搜尋已設定的遠端日誌檔案:
sudo grep 'TLS forwarding probe' /var/log/remote-tls.log
sudo journalctl -u rsyslog -n 50 --no-pager找到標記/var/log/remote-tls.log表示應用層轉送路徑在此測試中有效。但這並不能證明所有應用特定的日誌檔案都已被收集。若要獨立測試身份驗證,請在受控的維護視窗期間暫時使用不同的、不受信任的憑證或不匹配的對等名稱,並確認 TLS 連線失敗;然後立即恢復原始設定。
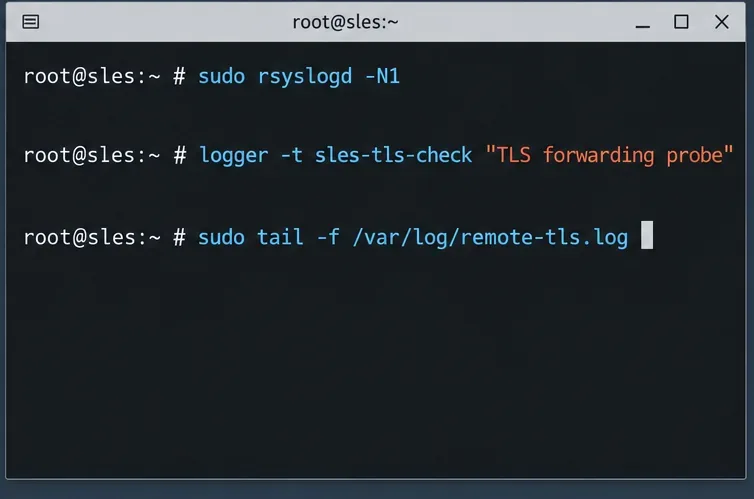
若標記未出現,請依序排查故障原因:
systemctl status rsyslogTCP/6514 和收集器防火牆規則。PermittedPeer和進行比較StreamDriverPermittedPeers;驗證 CA 鏈、到期日期、系統時鐘和私鑰權限。journalctl -u rsyslog在兩台主機上進行檢查。此方法遵循官方的SLES 15 SP7 系統日誌記錄指南、rsyslog 憑證認證用戶端指南、imtcp 監聽器參考和omfwd 轉發參考。 2026年 3 月的 SUSE 更新通知中記錄了選購的 OpenSSL 模組新增。由於不同 SLES 服務包的設定有所不同,因此在將變更套用到生產環境之前,請先在您已安裝的 rsyslog 版本上進行驗證。
確定 Btrfs 是否故意設定為唯讀、空間不足或在發生錯誤後保護數據,然後選擇適合該原因的恢復路徑。
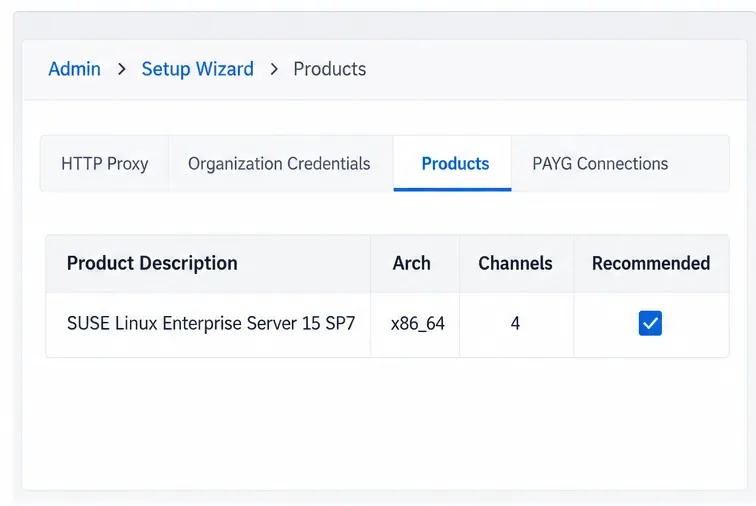
準備鏡像通道,建立啟動金鑰,並在沒有直接網路存取的情況下引導 SLES 15 用戶端,同時保持管理員簽到所需的連線。
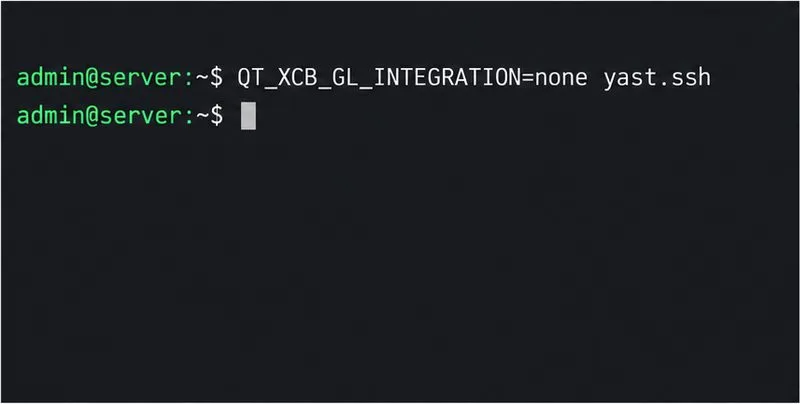
修復 YaST 透過 SSH 啟動 XIO 時出現的錯誤,驗證 X11 轉送和 xauth,並在不需要遠端視窗時切換到 ncurses 介面。
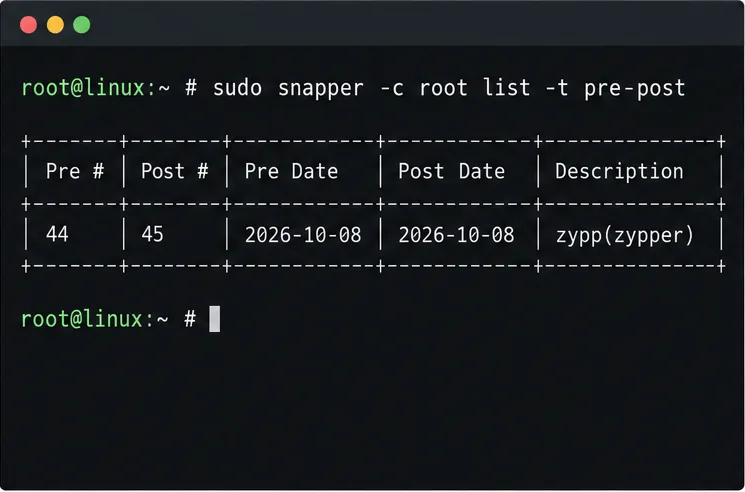
找到更新前的 Btrfs 快照,以唯讀方式測試它,並使用 Snapper 實現永久恢復,同時了解哪些資料保留在根回滾之外。
Send SLES system logs to a remote rsyslog collector over authenticated TLS, with certificate checks, outage buffering, and delivery tests.
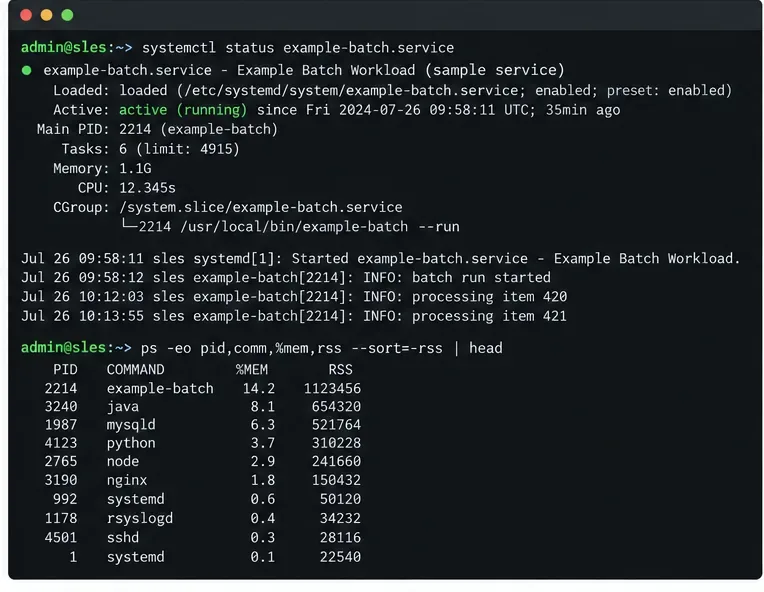
使用 RAM、交換空間、核心和 Zypper 日誌來識別真實的記憶體壓力,保護軟體包狀態,並選擇更安全的 SLES 升級重試。
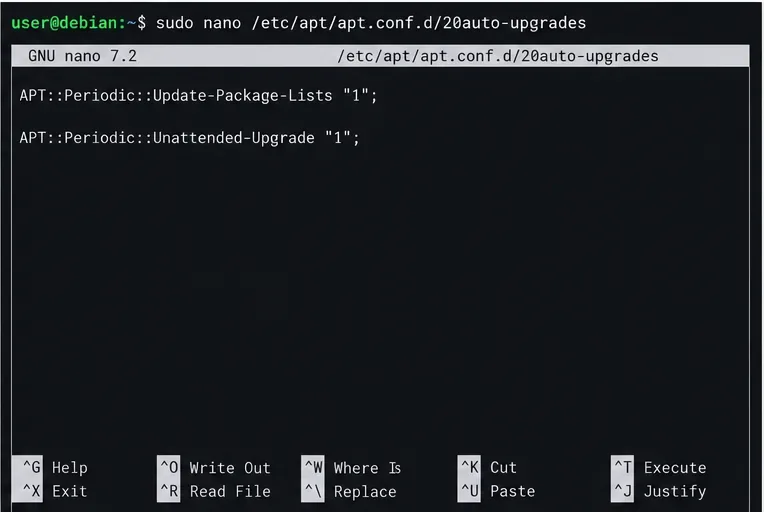
啟用 Debian 透過 SSH 進行的無人值守安全性更新,保留預設軟體套件來源,並透過 systemd 和 APT 日誌驗證計畫運作。
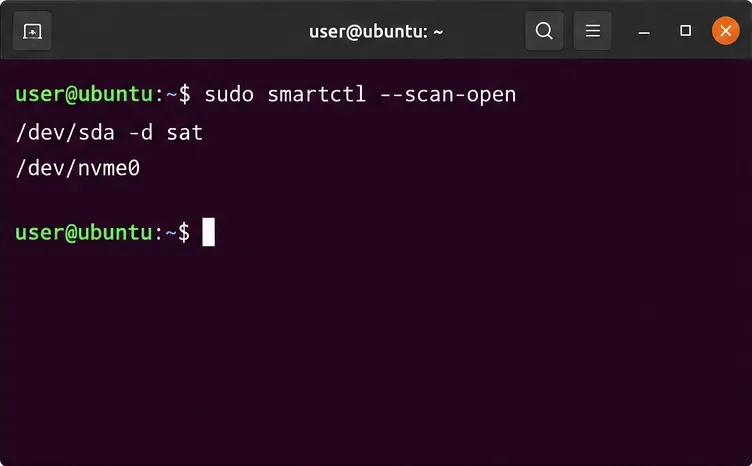
比較郵件投遞選項,在 Ubuntu 上配置 smartd,並驗證磁碟健康警告是否到達您的收件匣。
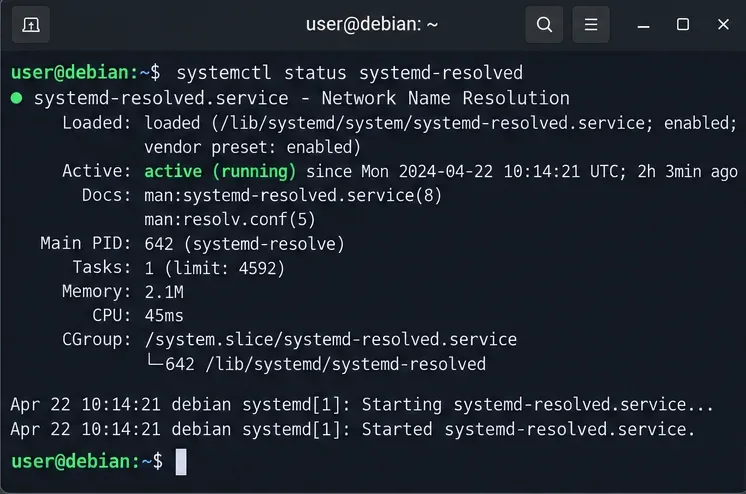
透過檢查 systemd-resolved、在需要時修復 resolv.conf 以及驗證上游 DNS 和應用程式解析,恢復 Debian 12 上的 DNS 查找。
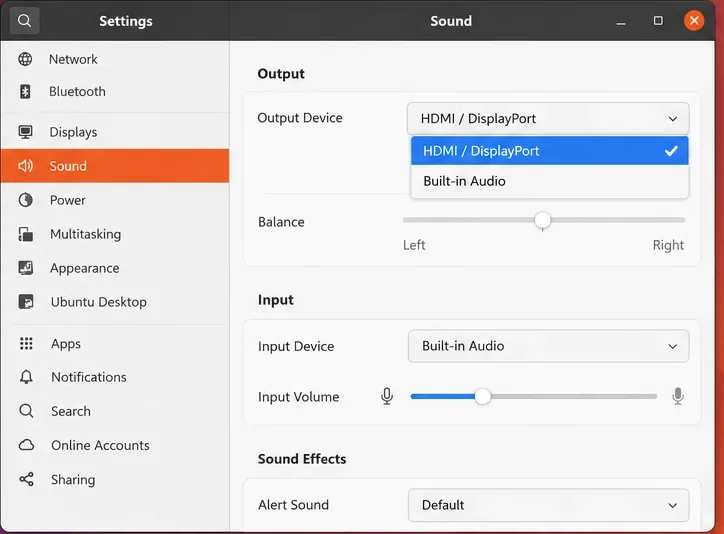
讓 Ubuntu 偵測到你的顯示器或電視作為音訊輸出設備,在聲音設定中選擇它,如果缺少 HDMI,請檢查連接或 PipeWire 設備清單。